Our doormats have died. The one on the terrace had been dead for a while, but the main entrance doormat was still holding on for quite some time. Its time finally came on a rainy January evening. When we tried to clean our shoes, a big chunk split off. Several days later, both my boyfriend (Focus) and I got sufficiently annoyed to get hold of a new doormat for the entrance. They only had a classic “Welcome” design in the store, but this was a doormat emergency. Now that the entrance was sorted, it was time to take care of the doormat on the terrace. When I saw its fluffy pieces inside of the apartment again, I envisioned something grand.
I have always wanted to design a doormat, then life happened and I designed other things.
Focus requested the right to approve my design and was initially a bit skeptical. Challenge accepted. In the end, I did not only have to convince him about the design, but I also had to gain his trust to participate. Let me explain, step by step.
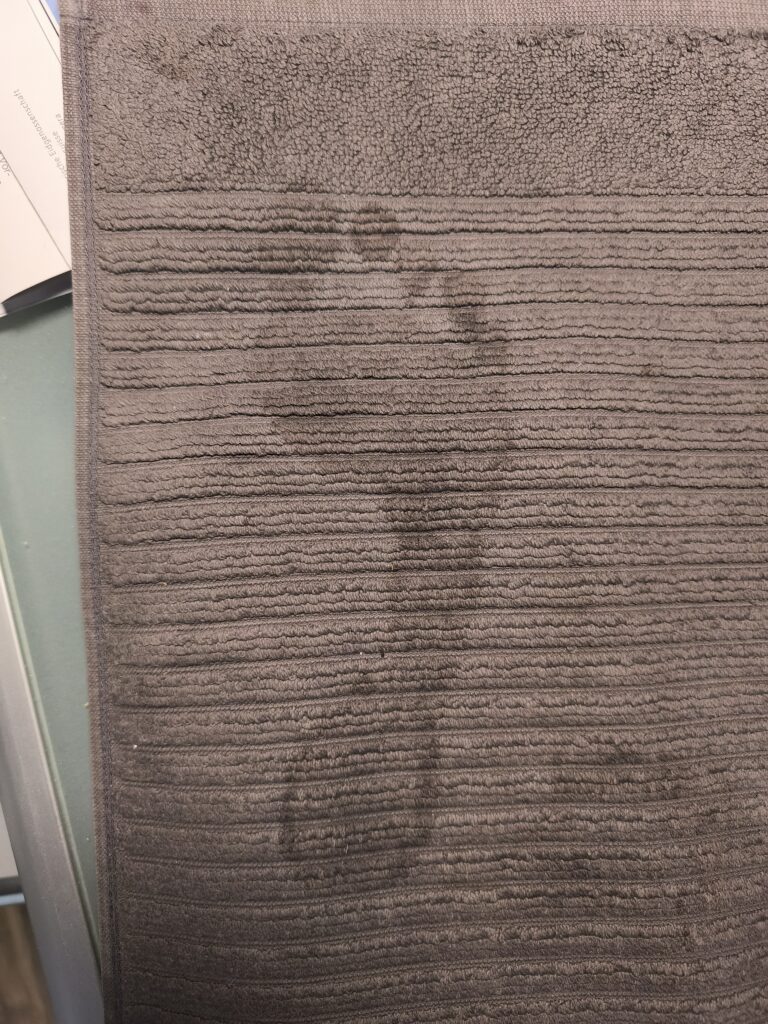
The idea came to me after stepping out of the shower. I saw my wet footprint on a bathroom mat and I thought to myself: “Wouldn’t this be cool on my new doormat?” Yes! Since we definitely wanted a classic brown mat (coconut, as I learned), I dreamed of making it look like footsteps in the sand. I eventually dropped the idea because it wouldn’t have sufficient contrast in my opinion.
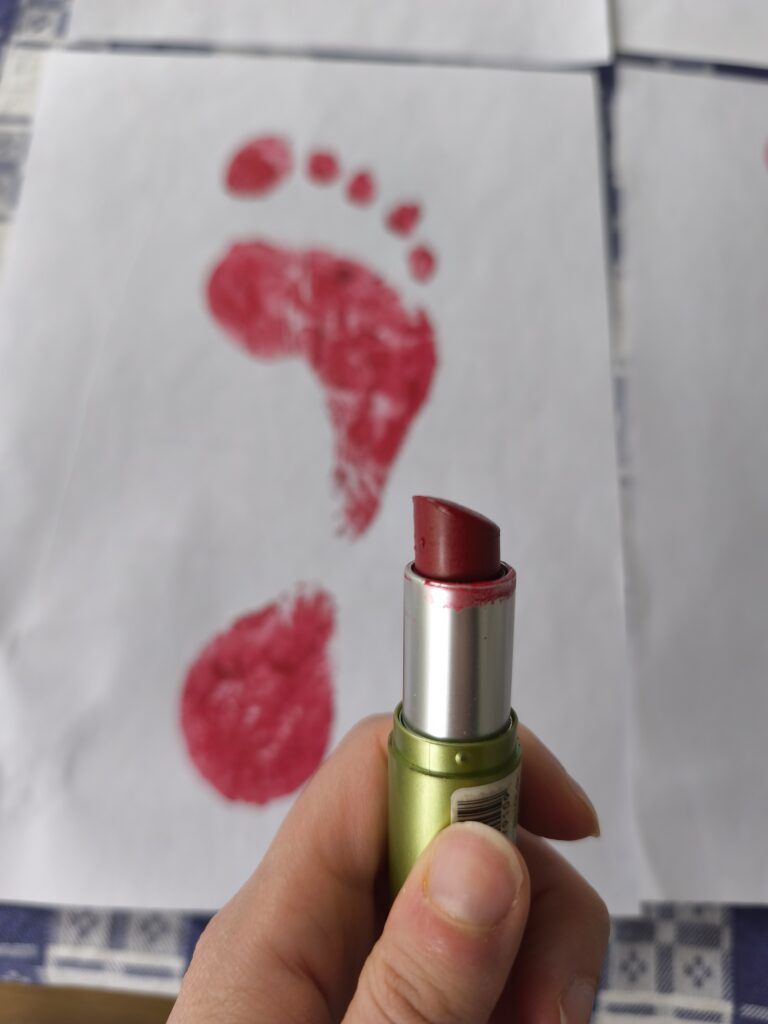
The next step was to figure out how to make a nice footprint. I first took a photo of the wet bathroom mat, but due to its patterns it would be difficult to isolate the footprint in post-processing. I had to cover my foot in some kind of paint and step on something white. My textile paint would not be strong enough, my Halloween makeup did not have enough quantity, playing with ashes would be too messy… And suddenly, there it was, looking at me with a green shine from the bottom of my makeup box. Lipsticks are a great tool for painting! With the most common uses like haunting messages in the mirror and lip prints, I was convinced that it would do a great job on feet as well.


There was something oddly satisfying about painting my foot with a lipstick.
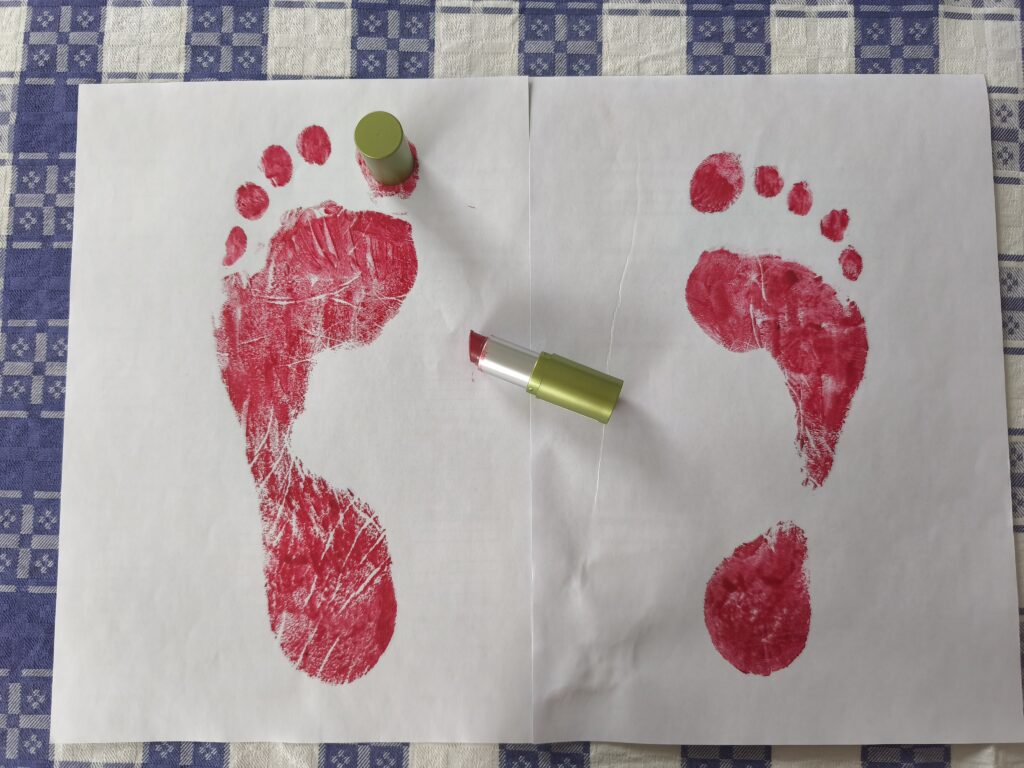
My red footprints on paper turned out marvelously, there was just one problem – removing the color. The color is oily and stains pretty much everything. I used toilet paper, makeup remover and cotton to clean my foot, and bleach to also clean the shower. Despite this time-consuming effort, the paint still got stuck in the wrinkles. Oh well, it was still worth it! Focus fortunately loved my idea and agreed to get his left foot painted for art’s sake. I knew how to avoid mistakes and there was no collateral damage to the shower this time. We only had red feet for a week.

As a kid full of joy, I took photos of the footprints and proceeded to the image processing. I changed them into a grayscale, emphasizing the features. At first, I tried to remove the background in Corel Photo Paint, use feathering on the edges, manually selecting the best edges… Then I realized that PowerPoint background removal could do a good enough job in just 30 seconds. Anyways, the rug would not have a sufficient resolution to see gradients on the edges. One thing that I had to add as well was a 10 cm line to calculate the scale.
The rug was ordered from a webshop and it arrived in less than a week. We love it! Welcome to our home dear visitors, and watch your/our step!


Love it – need to make plans to come around!
Yes please 🙂
A great and original story and of course door mat 🙂
Thanks Andrew 🙂